
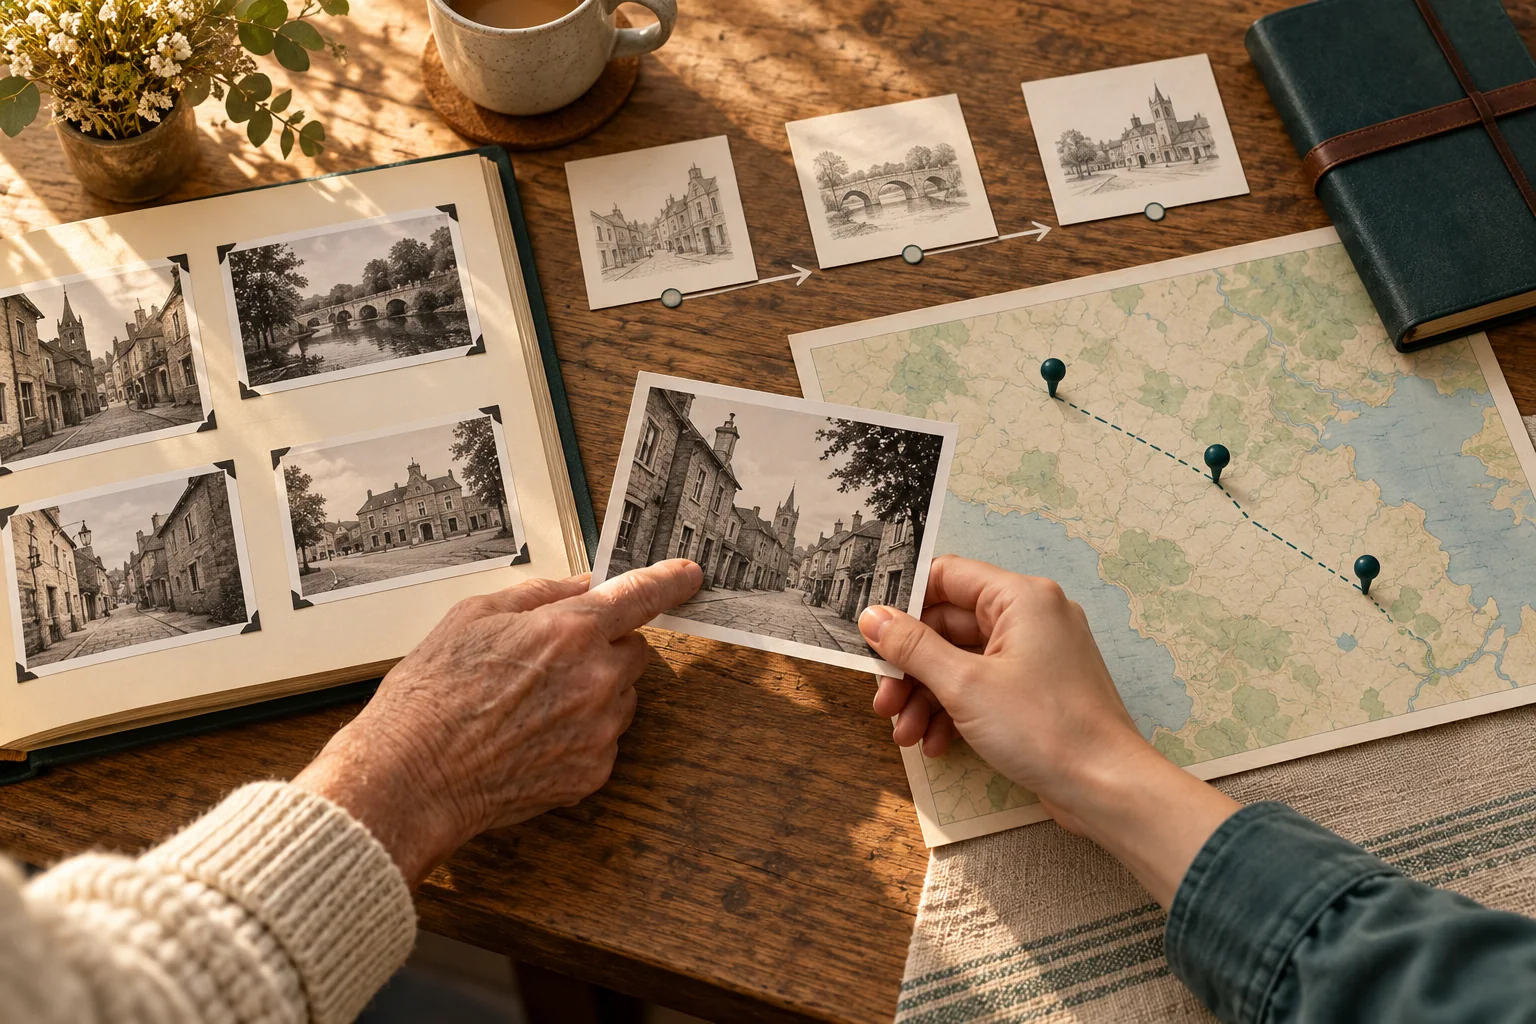
Illustration: choose a research question and a few documented places before building the trip itinerary.
Choose one question and gather the album
Pick one person, household, or event for the first journey. Write a question specific enough to guide searches, such as “Which neighborhood did my great-grandparents live in when this porch photo was made?” List what an answer would look like: a street address, a town, a building, or only a likely county. To plan a family history trip, define success before you leave: even confirming a town may matter.
Collect prints, captions, letters, address books, certificates, and the images before and after the target photo. Give each item an ID. Photograph print backs, transcribe uncertain handwriting as written, and distinguish known dates from estimates. Genealogy trip planning gets easier when a family story is tied to a source instead of copied into the itinerary as fact.
Before you plan a genealogy trip, make a small research sheet: question; people and date range; known places; source for each claim; unanswered points. Limit the route to one or two connected areas, leaving time for conversations.
Ask relatives questions that maps cannot answer
Set up short calls before booking travel. Show a relative one photo at a time and ask open questions: Who took it? Who else might have been present? Was this near a home, school, business, or place of worship? Which visits happened regularly? Ask whether they remember the location firsthand or learned it from someone else. Follow up: What was the street called? What stood across it? Had the family moved by the next album page?
Record the speaker, date, and exact wording of place names. Ask permission before recording a call or sharing a personal story. Preserve conflicting accounts. To plan a family history trip, treat an interview as a lead that can narrow a search, not an automatic address confirmation. A remembered corner store may be more useful than a confidently named town if the store can be found in an old directory.
Give fellow travelers a chance to name what matters to them. One person may want to see a former home; another may care more about visiting a cemetery or hearing an elder's story. That choice should shape the route and the pace of your family history travel, especially when relatives with different ages or mobility needs are coming along.
Turn clues into places you can test
Build a candidate list for each image or event. Search names, addresses, business signs, and approximate years in city directories, historic maps, newspapers, local library catalogs, and historical society collections. The National Archives genealogy resources provide a starting point for federal records, but a local institution may hold the street-level material your question needs. Record catalog titles, dates, and links so you can retrace a result.
A pictured building may have changed names or disappeared. Compare the order of neighboring structures, street layout, and a dated source before placing a pin. A relative's recollection, a directory entry, and an independently dated photograph can support different parts of the same claim. A repeated unverified caption is still one source. Mark each candidate as confirmed address, likely area, or open question and note the missing check.
Sometimes a scan has no usable address or sign. In that narrow step, WhereIsPhoto can suggest up to three candidate locations from a JPG, PNG, or WEBP image up to 8 MB, with a map and visual clues, even without GPS data. Sign-in is required, and each search uses one credit. Treat any suggested region as a search lead. A visual match to a public image does not establish where your family's photograph was actually taken, and older streetscapes may have changed.
The aim is to plan a family history trip around explainable stops. Label a candidate neighborhood as possible; avoid long drives based on one unverified suggestion.
Contact archives before reserving the research day
To plan a family history trip around an archive, first see what can be answered online. Identify the record or catalog item, confirm its location, and check access. The National Archives advice for planning a research visit recommends contacting the location beforehand and keeping notes that make your research traceable. Holdings differ by location.
Send a concise inquiry: “I am researching [name or subject] in [place] around [years]. I found [catalog reference]. Is this available at your location, and what should I do before visiting?” Ask the institution about appointments, photography, copies, accessibility, and timing. Save its reply and contact name; allow for retrieval delays. Genealogy trip planning works better when the archive visit is a focused research block, not a rushed stop between landmarks.
If the material remains unconfirmed, keep a nearby library, neighborhood walk, or family interview as an alternative.
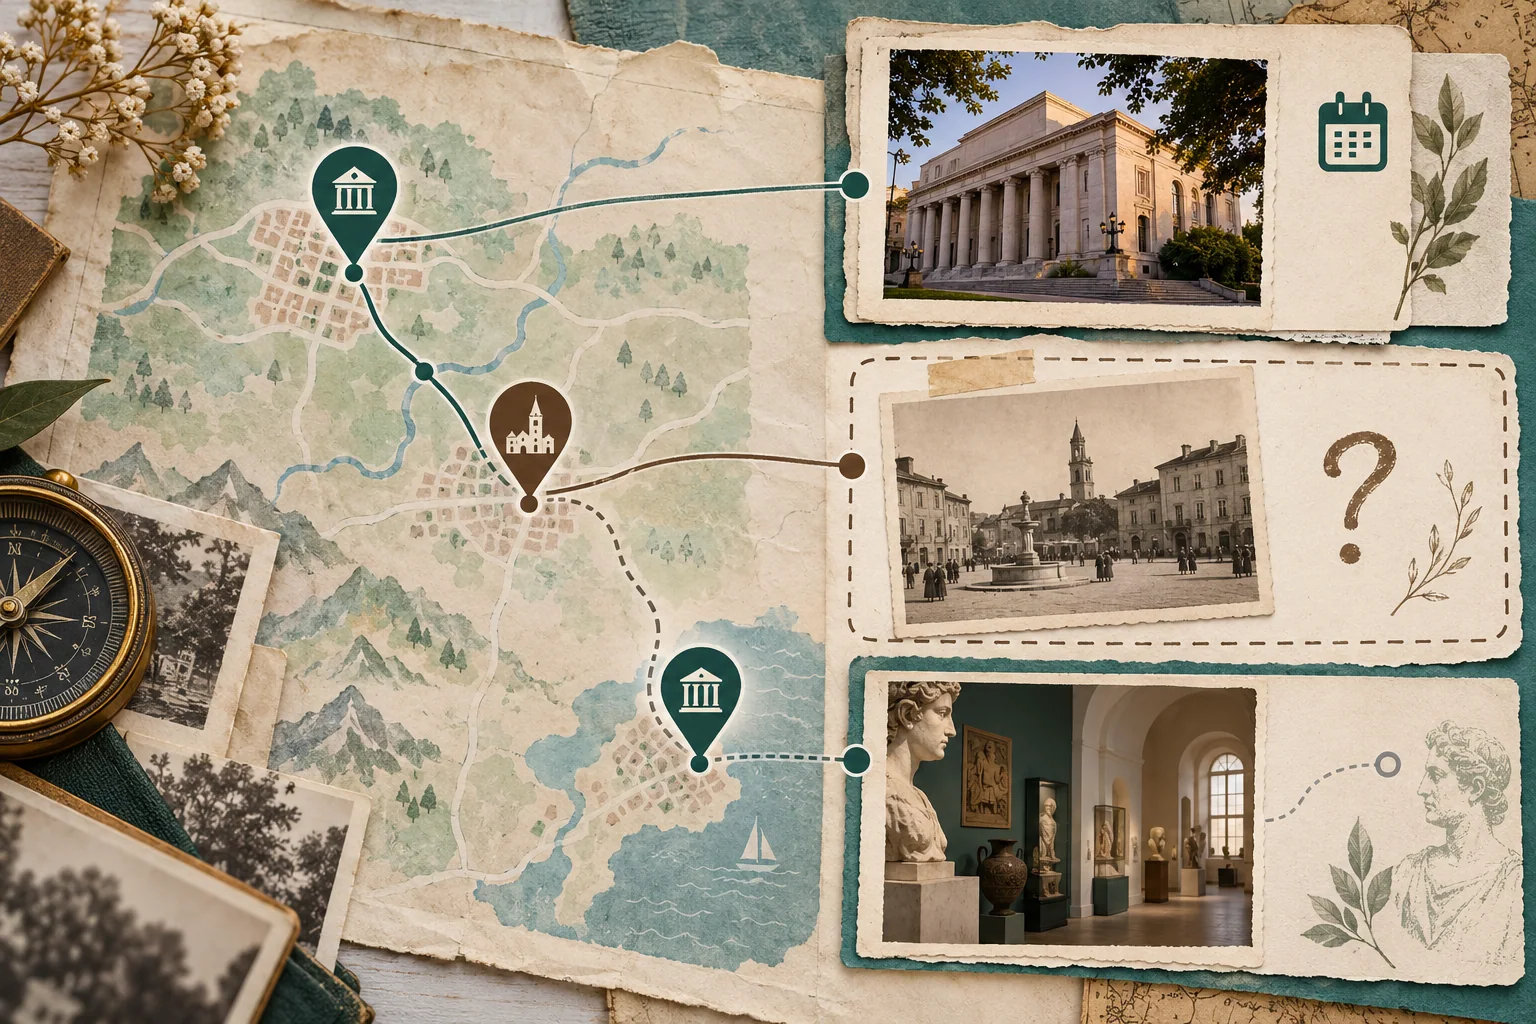
Illustration: plan confirmed stops first and keep uncertain photo locations as optional research leads.
Build an itinerary by confidence, then distance
Make the family history trip itinerary in three layers. Anchor stops are confirmed places with an address and an explanation, such as a former residence supported by a dated directory. Investigation stops are likely areas where you will compare maps and surroundings. Optional stops are open questions or related sites that can be skipped without spoiling the day. The route still works if a candidate is wrong.
For a sample one-day route, allow a morning research appointment or interview, a midday walk at one confirmed site, and an afternoon comparison at one likely area. Add transit, meals, rest, and extra time for a conversation or closed building. These times are suggestions. Share a map showing addresses, confidence, contacts, and why each stop matters. When you plan a genealogy trip, ask every traveler which stops are essential and which require easier access or shorter walks.
Avoid treating a present-day property as a public exhibit. View it from lawful public space, respect residents, and use archives to understand former structures. A map and public viewpoint can still tell the place story.
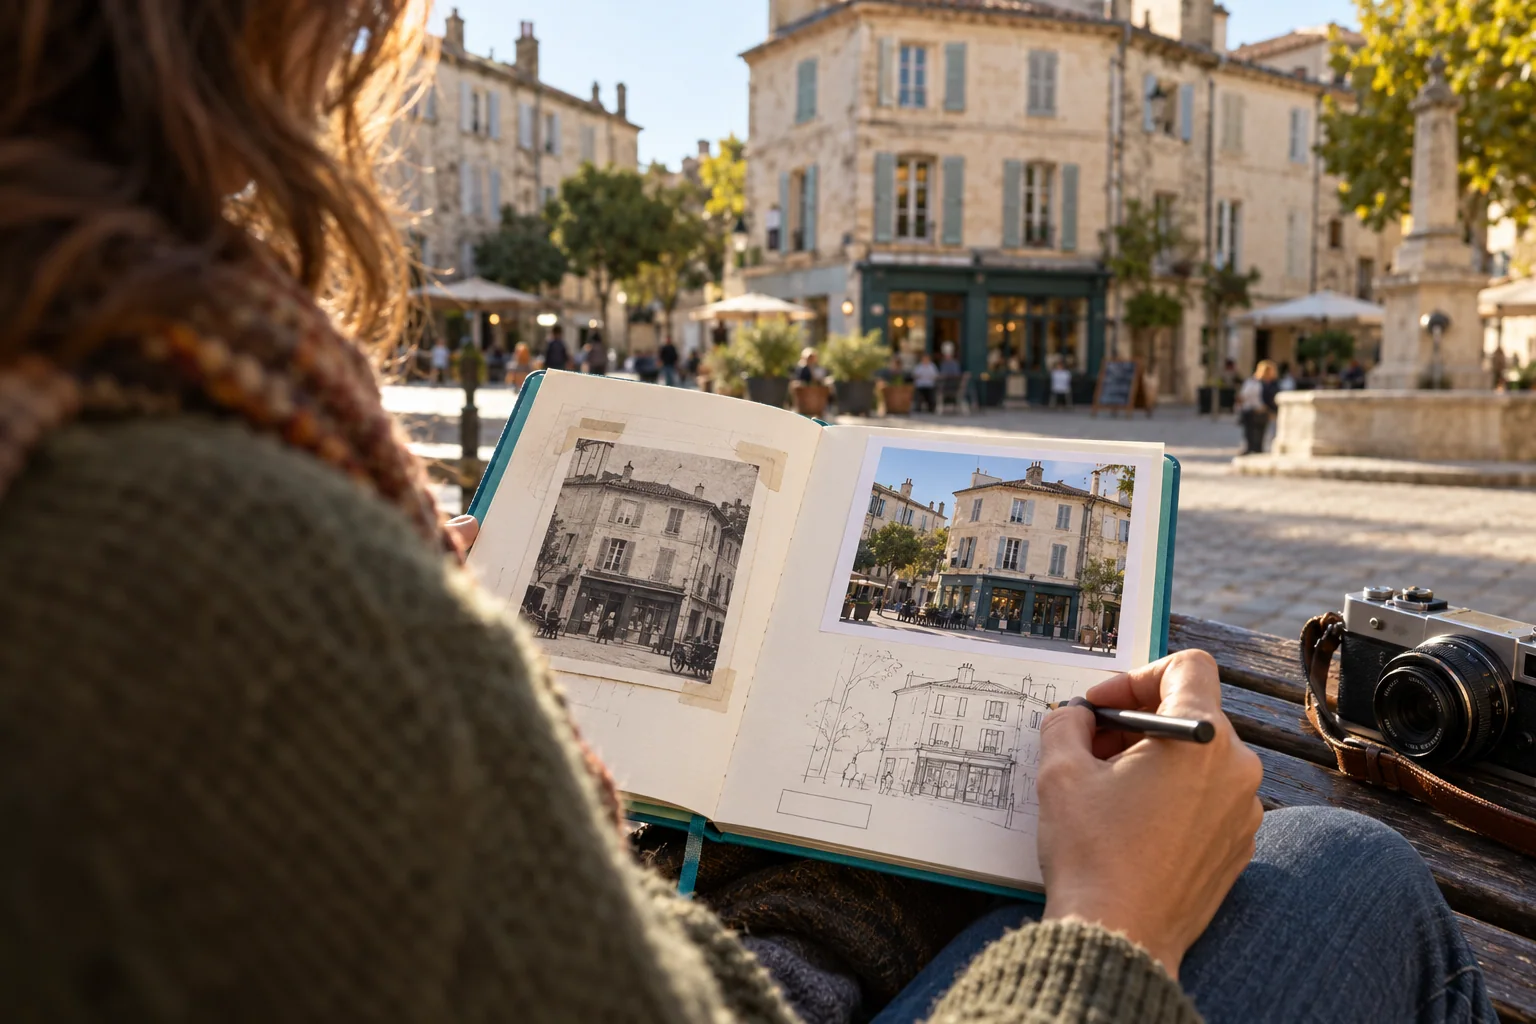
Illustration: bring home dated observations and source notes so the family story can be checked and shared.
Capture the visit and bring the story home
To plan a family history trip that others can retrace, record the date, address, viewpoint, and what matches or conflicts at each stop. Take a wide context photo before a close comparison. Record a local contact's words and sharing permission; keep uncertain memories labeled. A useful family history trip itinerary includes space to pause and make these notes, not just a route to complete.
Within a few days of returning, pair each new image with its original photo ID. Save citations, interview notes, corrected place names, and unresolved questions. Share a one-page account: question, findings, remaining possibilities, and next record to seek. Invite corrections. That is how family history travel becomes a family resource instead of an album of unexplained stops.
You can plan a family history trip without proving every location. A route with one confirmed address, one carefully labeled candidate, and a recorded conversation can be a valuable outcome. Leave a trail from photograph to place that later evidence can improve.