
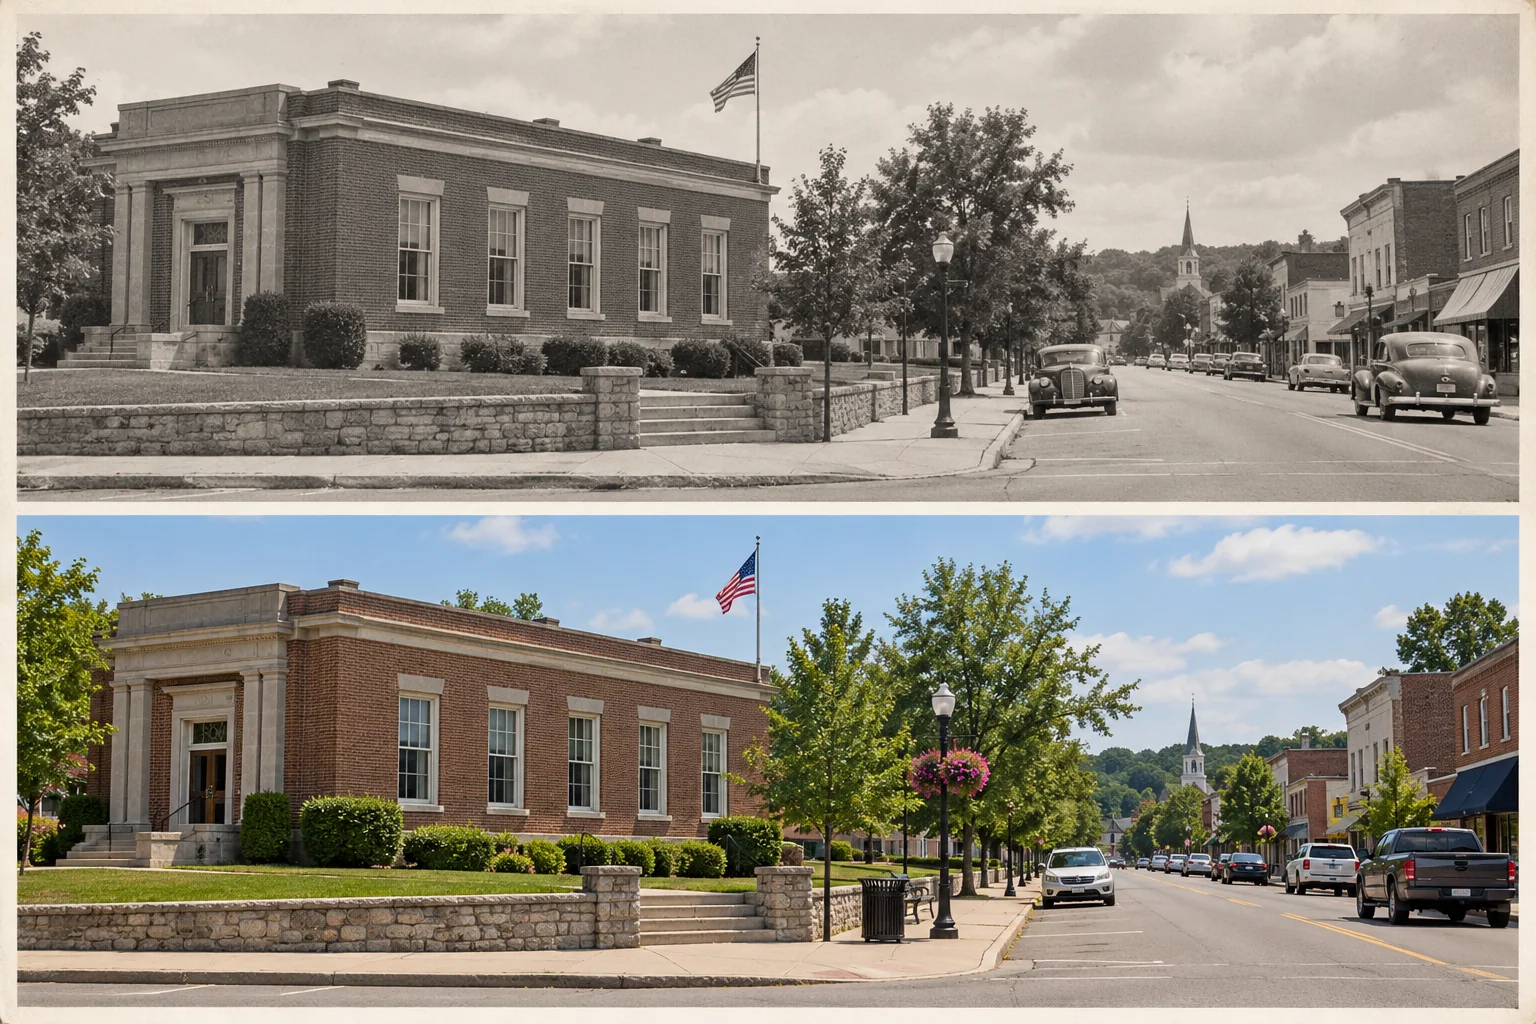
Illustration: then and now photography benefits from matching viewpoints and framing so readers can compare changes.
Set a question that fits one block
Choose a specific view: the corner store and its neighboring storefronts, the entrance to a public square, or a stretch of sidewalk facing a familiar landmark. Write one question the pair might answer, such as how the street frontage changed. A narrow question helps volunteers collect relevant records; then and now photography should answer it, not merely look dramatic.
Plan one printable pair and a digital version with a full caption. Assign a source tracker and photographer. If the old image cannot be used or the viewpoint is inaccessible, choose another image. Limits should be visible in a repeat photography project.
Choose an image you can identify and share
Search a society catalog, library, archive, or resident's collection for fixed features: a street corner, roofline, doorway, or distant building. Save the catalog link or ID, creator if known, stated date or range, and exact location note. Separate the archive's description from your interpretation.
Read the rights or use statement attached to that particular image and the holding institution's reuse guidance before reproducing it on a board or online. A photograph's age alone does not establish permission to republish it. If the statement is unclear, ask the holder or choose another image; record any credit line or conditions the holder gives you. The Library of Congress image-use guide explains why the collection statement and individual record both matter.
A compressed scan may hide alignment clues. Request a higher-resolution file if available, and preserve the original and metadata. Do not retouch away people, signs, or buildings to make the historical photo comparison look cleaner.
Research the original camera position
For then and now photography, make an evidence sheet before anyone visits the street. Mark three features visible in the historical image, then check period maps, addresses, directories, captions, and other dated photographs. Street names and numbers can change; a building label is a lead, not proof that the camera stood at the address printed on it. Sketch a possible camera direction and list at least one alternative viewpoint.
If an image has no location label, WhereIsPhoto can supply candidate areas for this single research step. It accepts JPG, PNG, or WEBP files up to 8 MB and, after sign-in, a search uses one credit. The result can suggest up to three AI-predicted locations with visual clues and a map, including when GPS data is absent. Treat every suggestion as a hypothesis to test against archives, maps, and features on the ground; a prediction does not verify the historic site.
Ask a resident or archive volunteer to review the clues; record who supplied each lead and when. For this project, a checkable source matters more than an untraceable memory. Keep alternative corners on the field sheet. Report an approximate location or change images if ambiguity remains.
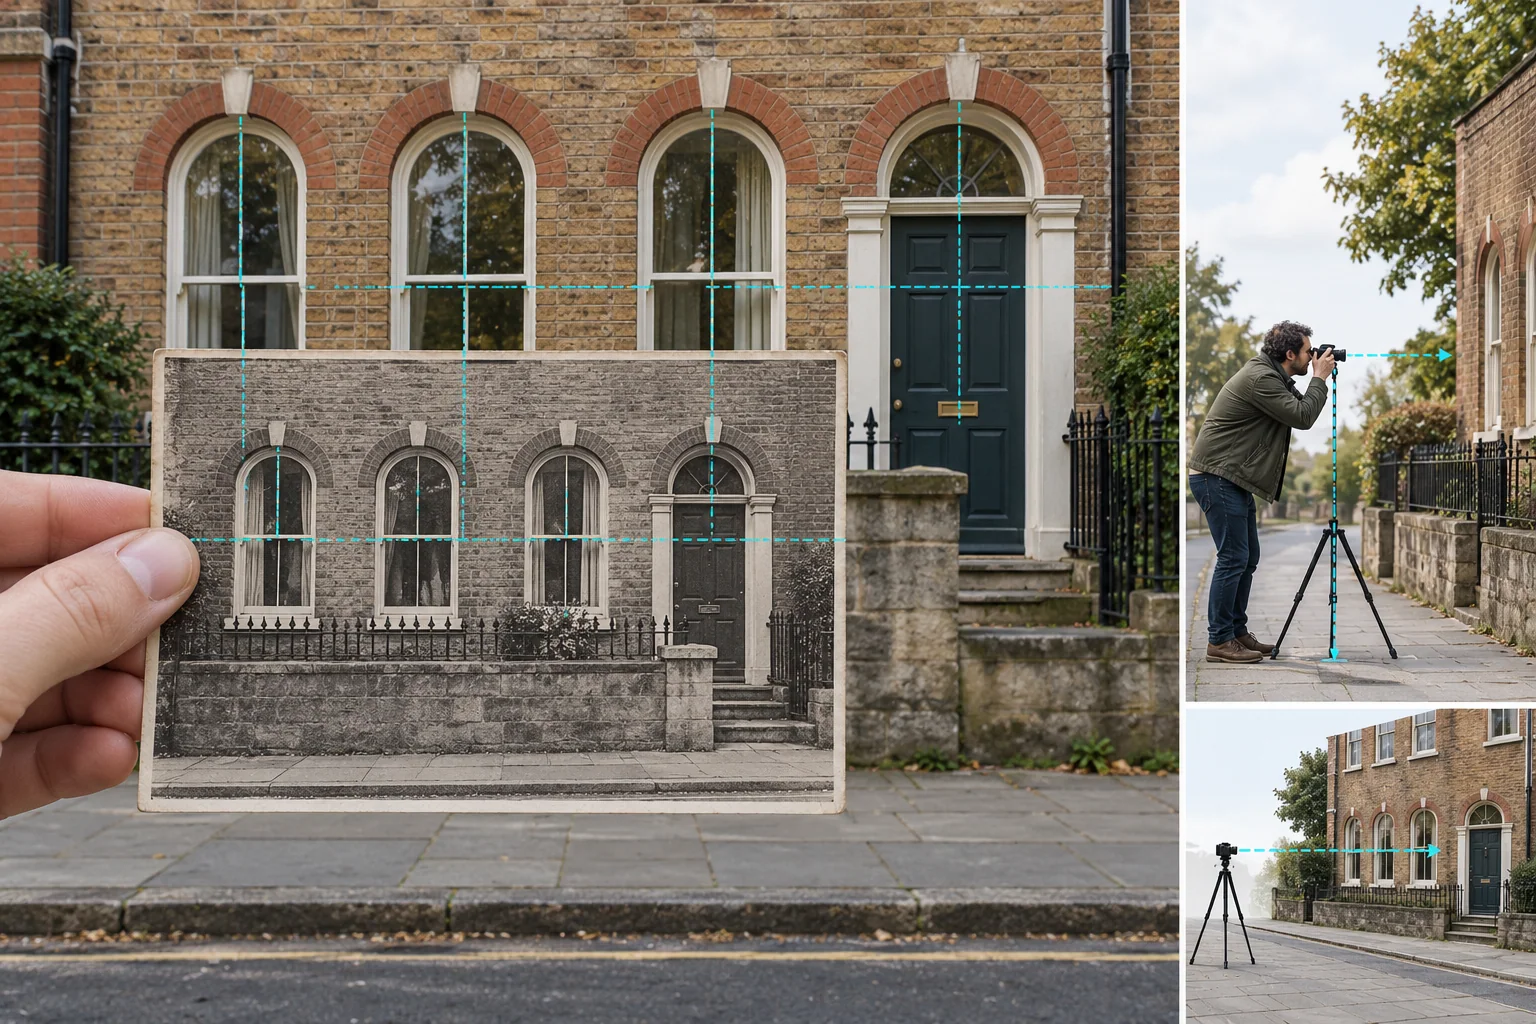
Illustration: match position, camera height, and direction before adjusting the crop.
Retake the scene from a safe, repeatable spot
Bring the historic image, evidence sheet, camera, and notes. Use a safe public position; never enter traffic or private property to imitate an old angle. Allow for present-day obstructions. The National Park Service repeat-photography guide describes collecting images, planning fieldwork, assembling pairs, and analyzing change.
On site, effective then and now photography starts by matching camera position before adjusting the frame. Walk a few steps left or right until stable features overlap in their relative positions; then adjust camera height and orientation. Start wide enough to capture the whole scene and crop later. Zoom alone changes framing but cannot correct the perspective caused by standing in the wrong place. Record the approximate position, direction, camera height, date, photographer, and any obstruction. Take a reference shot of the spot so someone else can return.
Take several frames nearby and select the closest geometry. If the original position is gone, explain the compromise. Foliage, vehicles, or construction can hide features; record them instead of calling every absence demolition. Then and now photography should show both change and uncertainty.
Build a historical photo comparison readers can check
For then and now photography, keep unedited copies of both files. Place the old and new frames side by side at similar display sizes, with their dates and sources immediately below. You may crop to a common field of view and make basic tonal adjustments for legibility; note any substantive edit. Keep the aspect ratio intact. A thin label or alignment guide can help viewers find the same corner in each frame without making the comparison look more exact than it is.
Write down observations before explanations: 'the storefront opening is wider' describes a visible difference; 'the shop expanded in 1954' needs another dated source. A historical photo comparison alone usually cannot establish why a building changed, who owned it, or the date of a change between exposures. If a facade is hidden, label it 'not visible in the new frame' rather than 'removed.' Do not use AI to invent a missing building or erase an obstruction from the record.
Have two volunteers independently identify stable features, visible changes, and unsupported claims. Resolve disagreements with dated records or leave them open. Their review makes a then and now photo project easier for residents to question and extend.
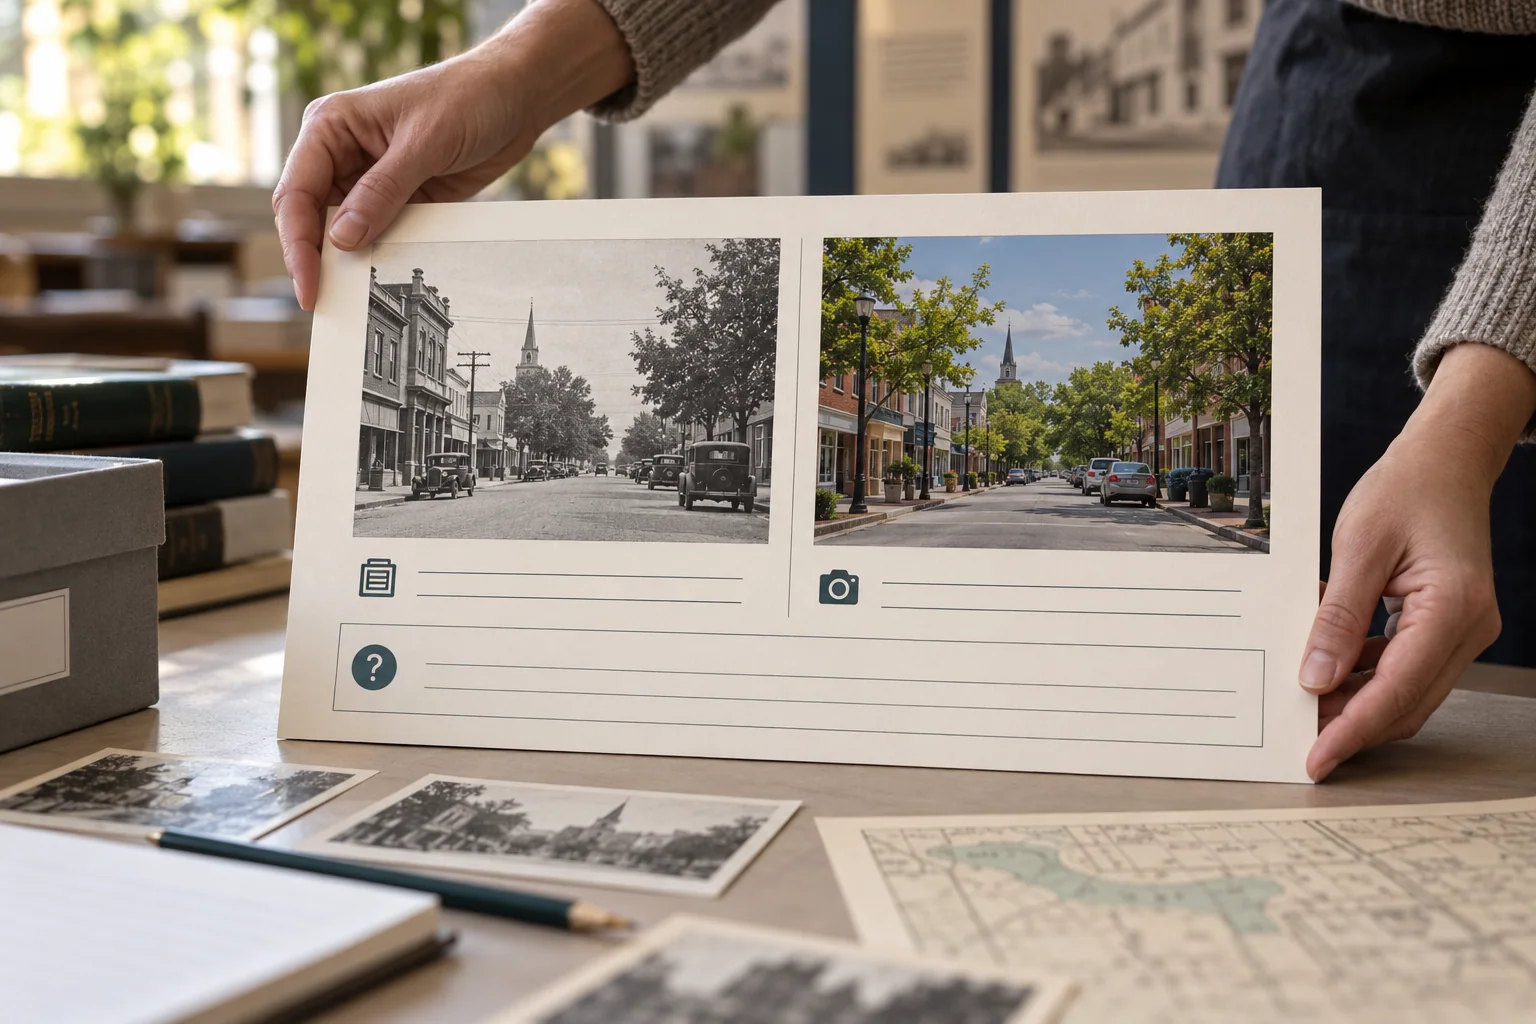
Illustration: a then and now photo project needs source credits, dates, viewpoint notes, and any uncertainty readers should know.
Write the caption and prepare the display
Caption your then and now photography with the location and two dates or date ranges first. Credit the historical image's creator and holder as instructed, then identify the modern photographer. State where the camera stood, how confident you are, and one or two changes the images visibly support. Put the original catalog URL or identifier and any supporting map or directory citation on the panel or its linked detail page. For then and now photography, the citation is part of the exhibit, not a footnote to discard for a cleaner layout.
Use this working template as a field-and-caption checklist; its entries are prompts, not facts about an actual neighborhood:
| Field | Record for your pair |
|---|---|
| Project question | One change the pair is meant to examine |
| Historic image | Title or description; creator; stated date or range; holder; catalog URL or ID |
| Reuse record | Item-specific rights statement; credit line; permission or remaining question |
| Viewpoint evidence | Landmarks, map or directory references, alternative locations, confidence |
| New photograph | Photographer; date; approximate standing point; direction; camera height; conditions |
| Comparison | Visible changes; obstructions; claims requiring another source |
| Display | Crop or edit note; caption text; panel or digital link; reviewer and review date |
Print a test panel at the size people will actually read. Check that dates, credit, and uncertainty are legible from standing distance and that a phone user can open the linked sources. Put the pair in a neighborhood exhibit, walking-tour handout, or local history page only after the image-use terms and credits have been checked. Invite corrections through a named contact, then log any correction with its source rather than silently replacing the caption.
A rephotography project need not reconstruct every intervening year. One verifiable pair, a repeatable viewpoint, and a transparent caption make then and now photography worth sharing. Neighbors can enjoy the change and trace the evidence.